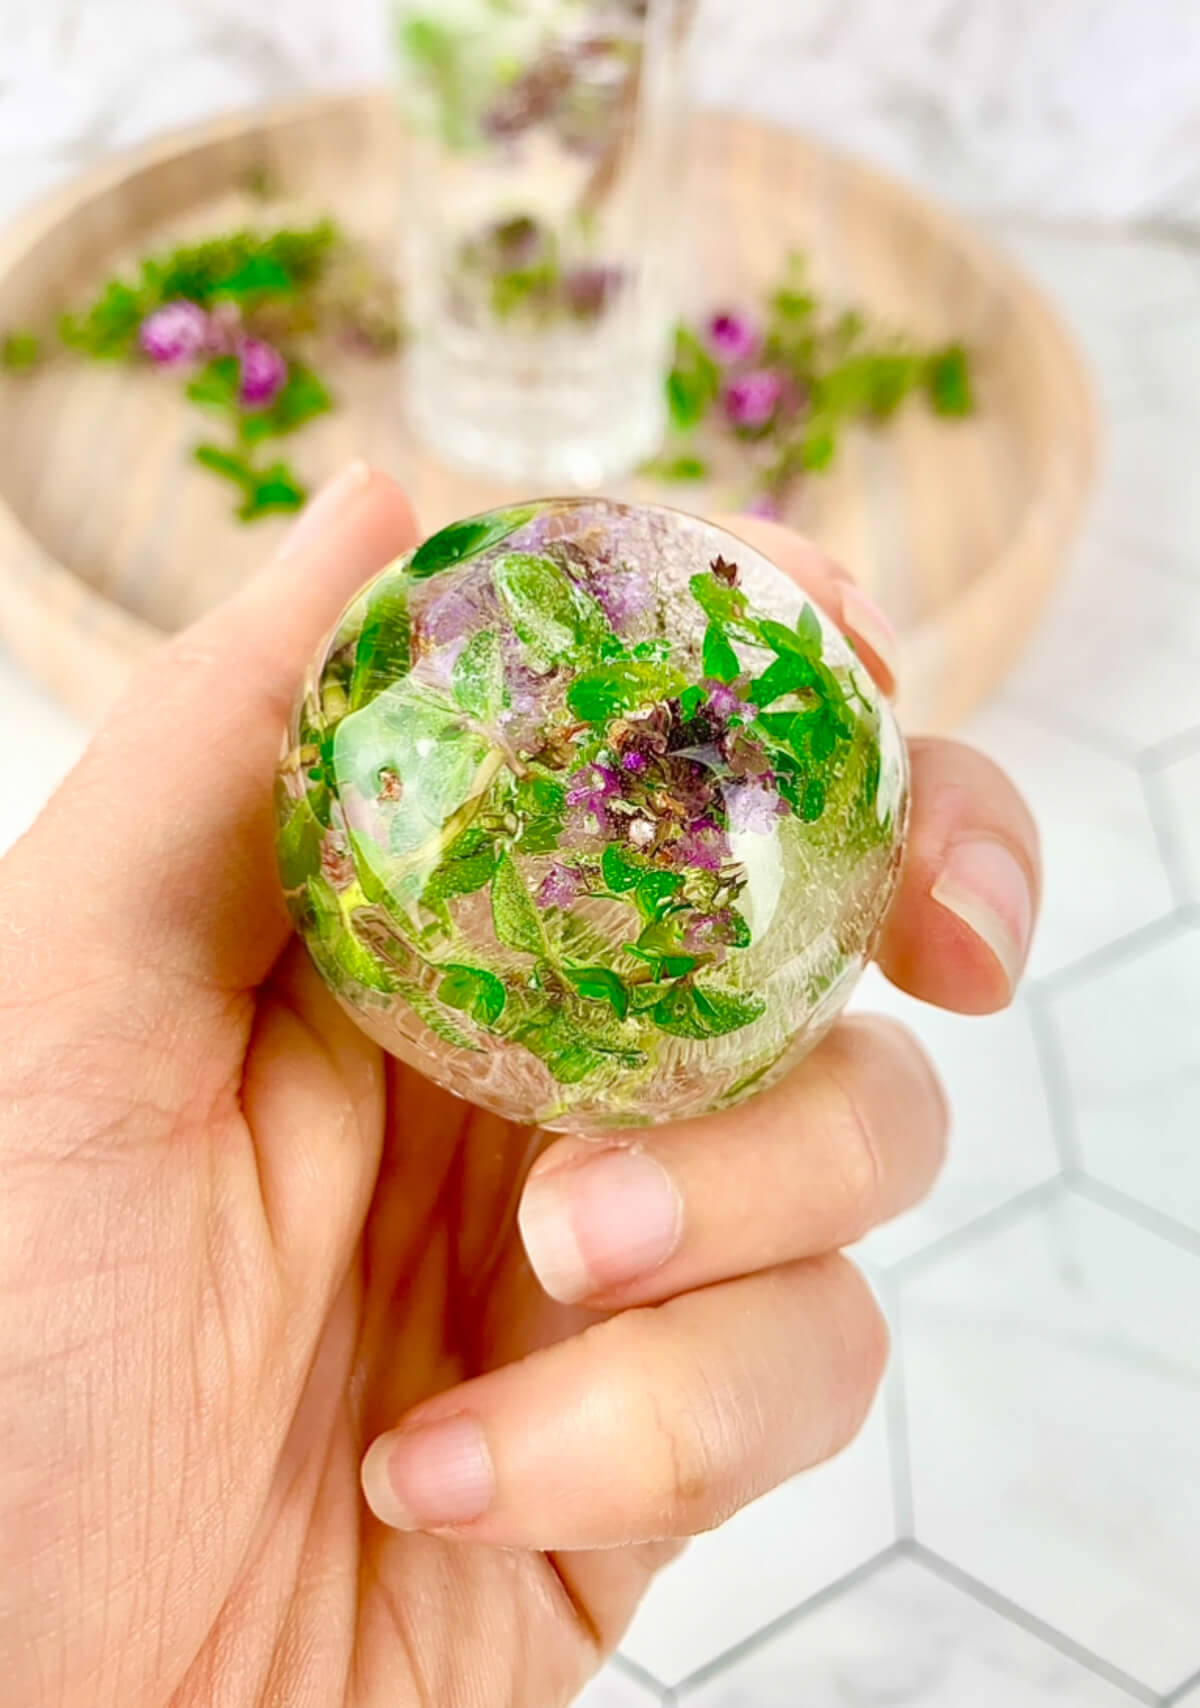
Decorative Ice Cubes
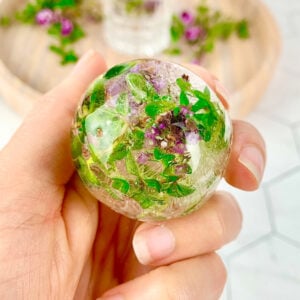
These decorative ice cubes are so simple to make and look absolutely gorgeous. An easy drink garnish for special occasions.
Do you love decorative ice cubes? Me too!
I'm usually disappointed when my thyme starts flowering, but I have found a new appreciation (and use!) for herb flowers, and this is one of them!
Similar to my easy ice cube flowers, these fancy flower ice cubes are easy to make and look so beautiful in drinks!
WHICH FLOWERS SHOULD I USE?
I used thyme flowers, but you can choose any edible flower. Thyme flowers in Spring and late Summer, and the flowers are edible and can be consumed. They have a subtle lemony flavour and can be used in other dishes such as salads and casseroles.
But if you don't have access to thyme flowers, don't worry! Any edible herb or flower will work in these ice spheres. Lavender would also be divine.
You can find full list of edible flowers here.
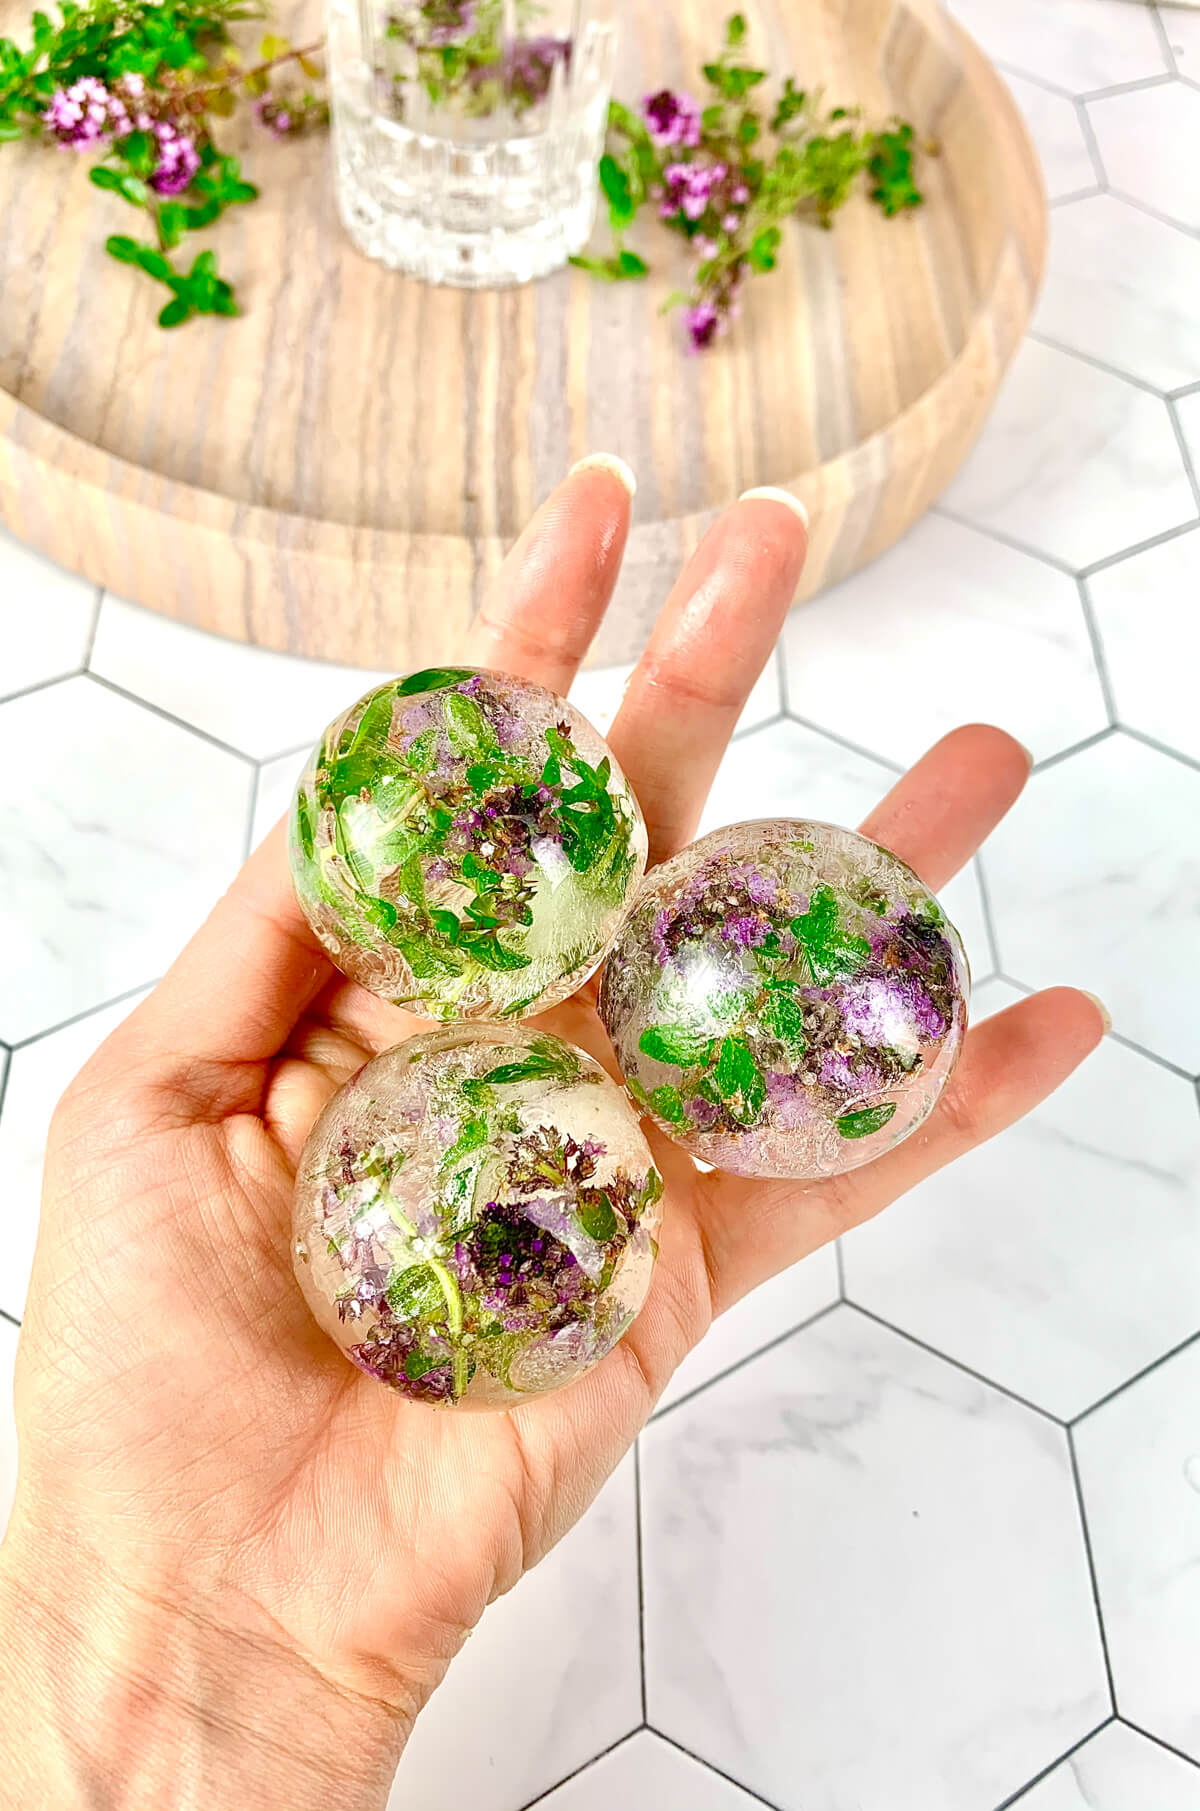
Equipment you'll need
Ice sphere moulds: I purchased these from Amazon and they are super easy to use.
Thyme flowers, or edible flowers/herbs of your choice: I used the thyme simply because I had it on hand, but feel free to get creative. I'll link to a list below of edible flowers.
Tap water or purified water: it's completely up to you which water you use, but here is the lowdown.
Have you ever wondered why ice develops those white cloudy spots? This is due to impurities in the water and air bubbles that form as the water freezes.. If you're a bit of a science nerd like me, you can read more about it.
Many ice experts recommend using purified water to get clearer ice. However, I used regular tap water with these and they turned out perfectly.
Want to save this?
I actually think the little imperfections here and there look really pretty and add character. I'll leave it up to you!
How to make decorative ice cubes
- Wash and dry the ice sphere mould to make sure it's super clean and free from lint.
- Trim the thyme flowers (of flowers/herbs of your choice) about 2-3cm in length, depending on the size of your moulds.
- Place 2-3 (or more if you want really 'full' spheres) pieces into each semi circle. You might need to bend them a little so they fit snugly and don't overhang.
- Fill each semi circle with water, replace the lid firmly and continue to fill through the hole at the top. Place in the freezer.
- Once frozen, carefully remove the lid.
You might find there are small lumps and bumps, especially if the ice has expanded as it freezes. When this happens I use a knife to gently tap or cut the excess ice off, then place them back in the freezer until they are ready to use.
Fancy ice cube tips
- Only use flowers and herbs that you have grown yourself. You want to make sure they have not been sprayed with any pesticides.
If you are going to use someone else's, you must check, and double check they have not been sprayed with any nasties!
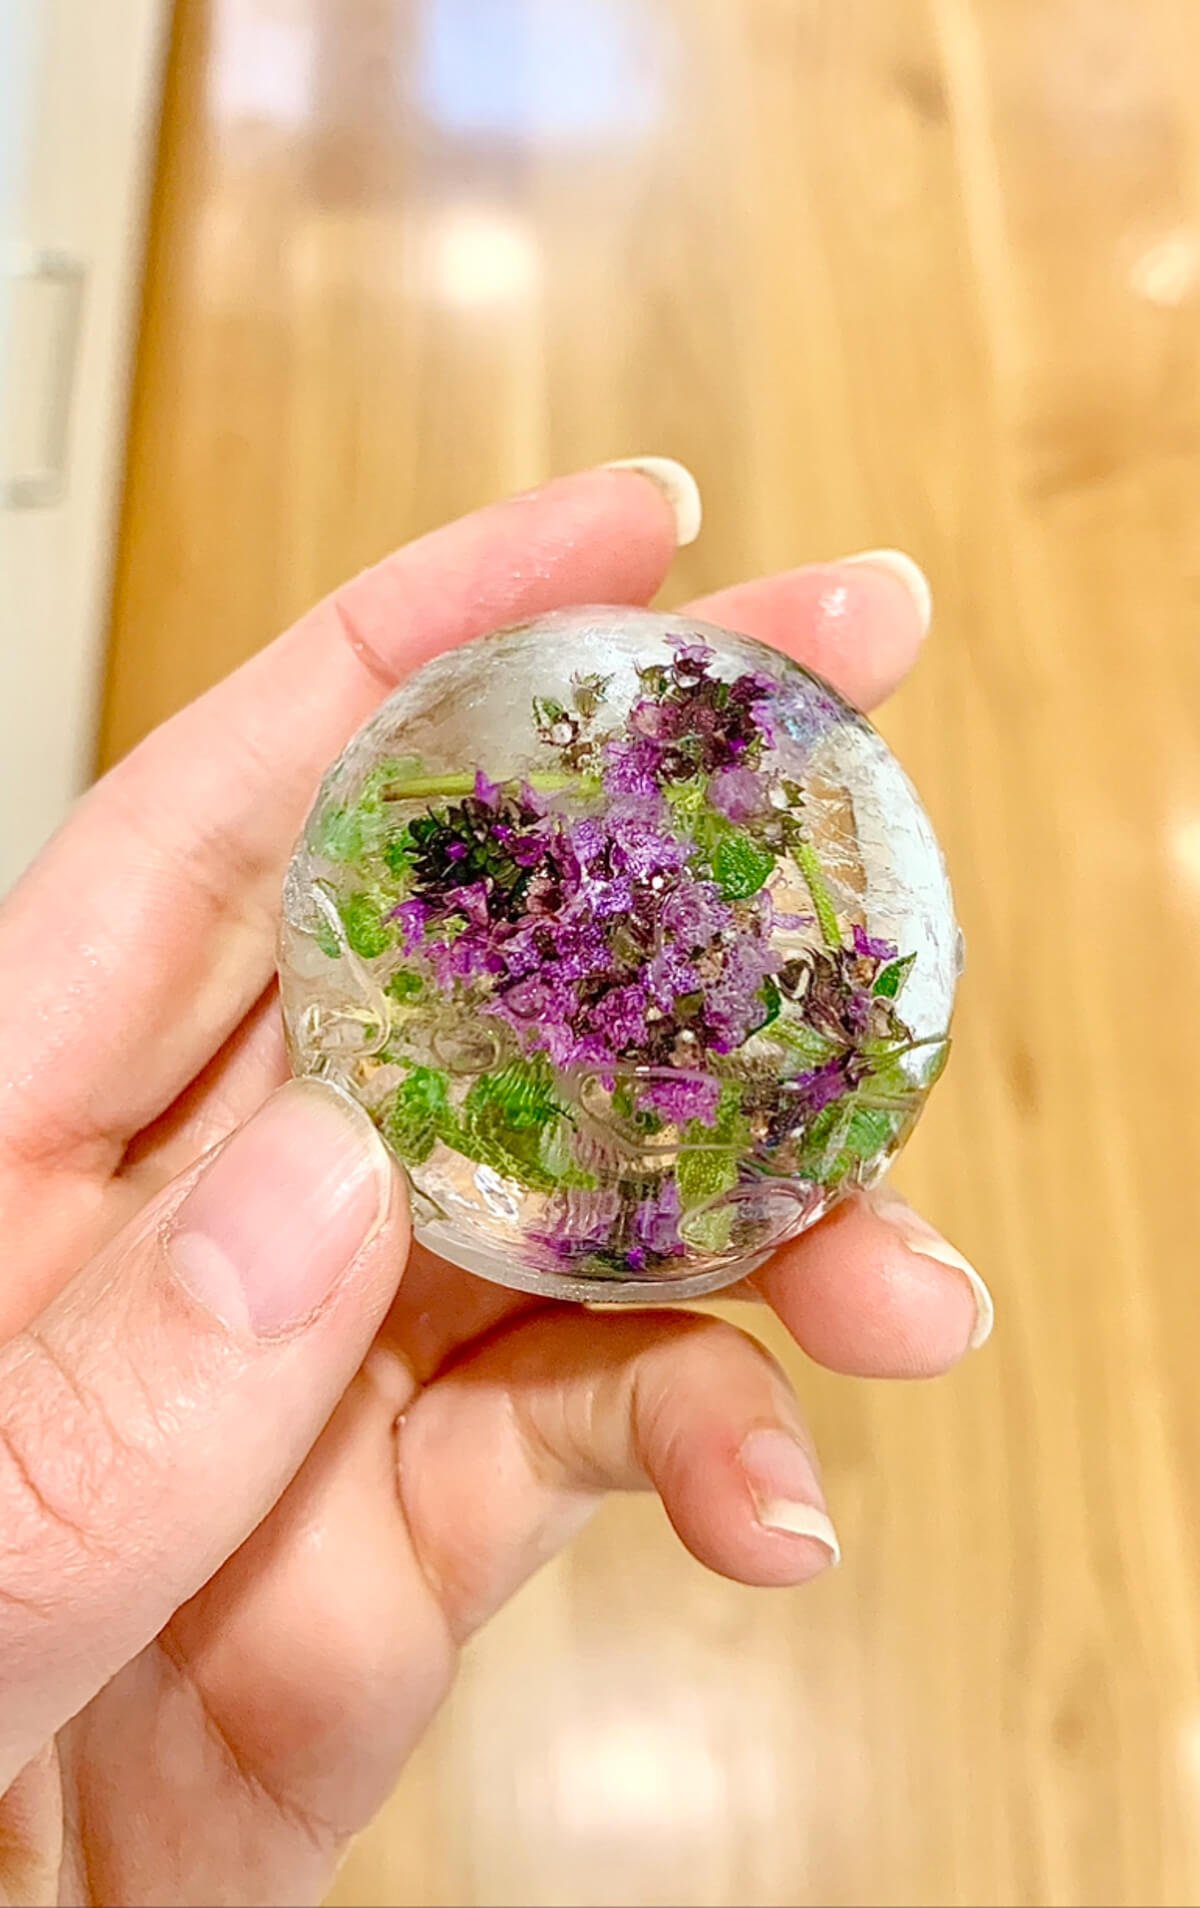
- Use them the day after freezing if possible. I have found the longer are stored in the freezer, the cloudier they get. This is due to the contaminants in the water, that rise to surface once the water is frozen.
- Don't worry if the spheres are frosty and it's difficult to see the flowers. Once you emerse them in water they become clearer.
Uses for decorative ice cubes
Baby showers: these would look absolutely gorgeous with edible pink or blue flowers. I would recommend using roses, rose petals and blue violas. Violas are so pretty and easy to grow.
Bridal showers: I made these using rose petals and mint and served them in coupe glasses with champagne - what an absolutely decadent treat! Check them out below:
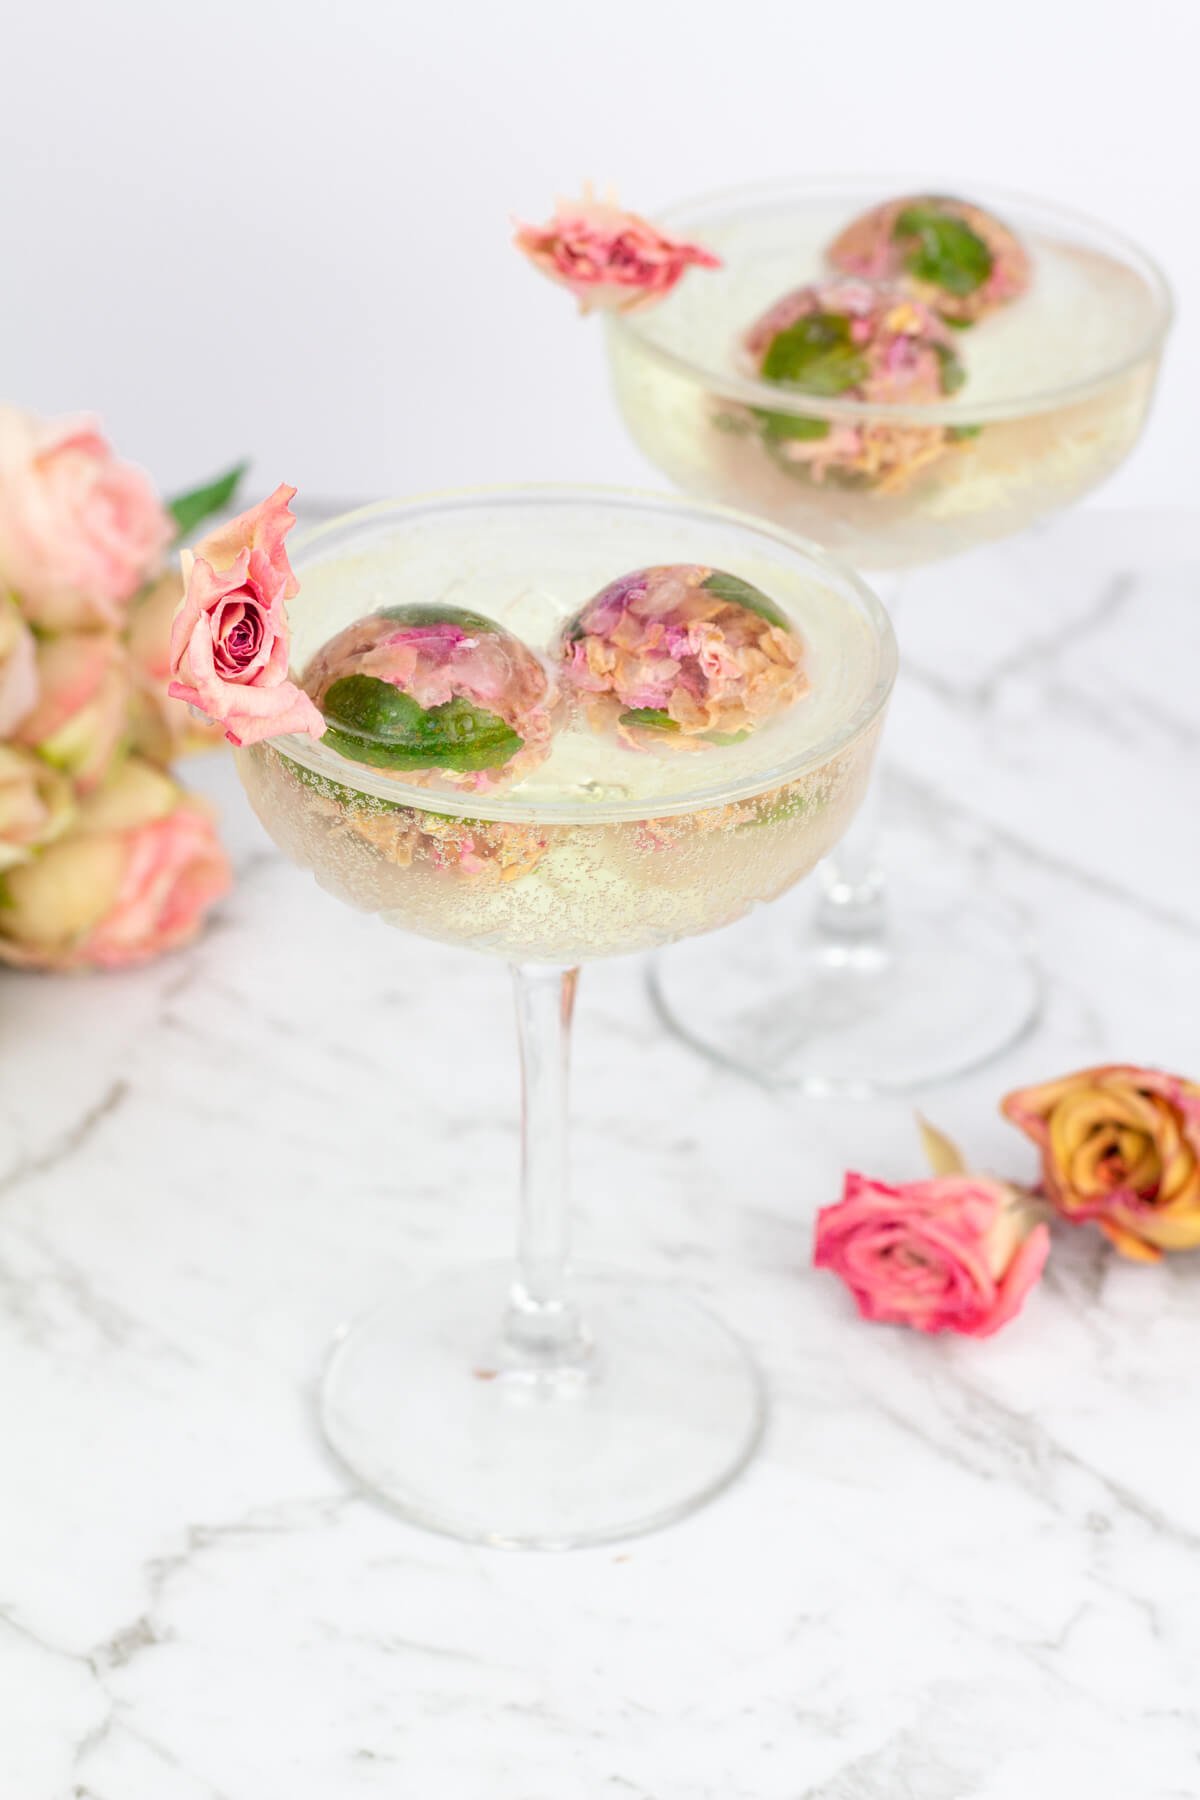
For guests: these looks absolutely beautiful when served in a glass or crystal jug and set in the middle of a table for guests to helps themselves.
I'd love to know below - do you love decorative ice cubes as much as I do?!
Ingredients
- 15-20 edible flower sprigs
- 2 cups water
Instructions
- Trim the edible flower sprigs to about 2-3cm in length, depending on the size of your moulds.
- Place 2-3 (or more if you want really ‘full’ spheres) lengths into each semi circle. You might need to bend them a little so they fit snugly and don’t overhang.
- Fill each semi circle with water, replace the lid firmly and continue to fill through the hole at the top. Freeze.
- Optional step: you might find there are small lumps and bumps, especially if the ice has expanded as it freezes. When this happens I use a knife to gently tap or cut the excess ice off, then place them back in the freezer until they are ready to use.
Nutrition
NUTRITIONAL VALUES ARE ESTIMATES ONLY AND DO NOT INCLUDE CARBS FROM SUGAR ALCOHOLS.
